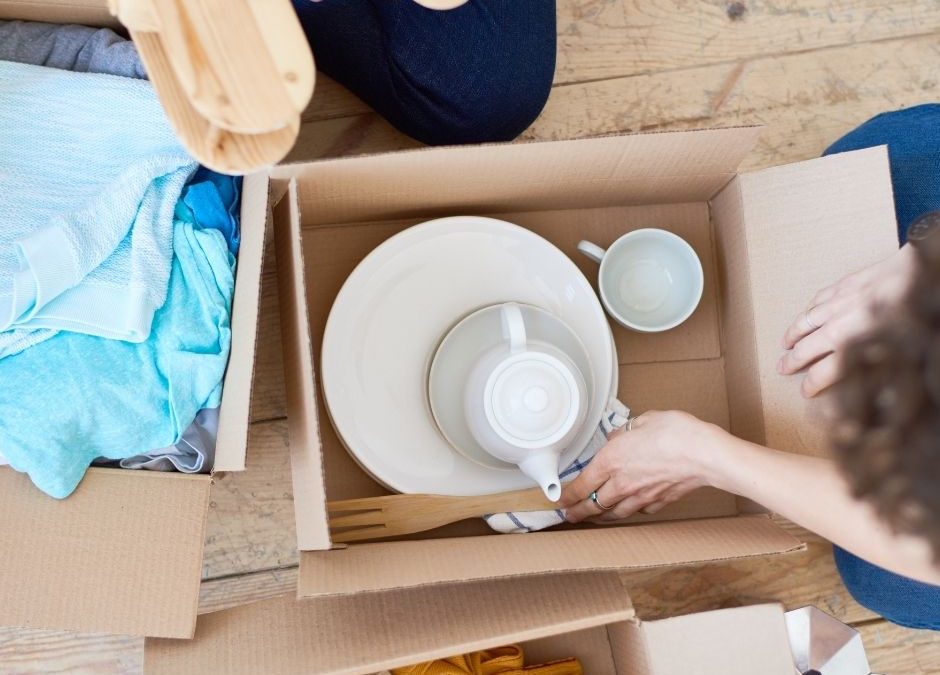
The kitchen is one of the most used rooms in the house. It’s also one of the most complicated rooms to pack and move. The kitchen is filled with many fragile items like dishes, glassware and glasses, as well as sharp objects like knives and scissors.
In addition, there are many appliances used daily that need to be packed carefully to avoid damages during the move. In this article, we give you advice on packing these kitchen items for moving.
Step 1: Planning & Organization

Before you start doing anything, we suggest that you take some time and think carefully about the process. For example, consider the things you want to keep and those better left behind. We are sure that this will make your relocation much easier because fewer items will be to pack and transport.
Once you’ve picked the items you want to relocate, the next step is to organise your kitchen before you start packing. Empty all drawers, dish racks and cabinets and toss away (or donate) unnecessary items. You can donate the perishable food items and pantry items to the food bank and keep the canned goods for packing into different boxes.
Group the items you plan to pack into different piles: one for the fragile items like ceramic stuff, glass jars and glass bottles, one for the vital kitchen stuff you’ll need as soon as you’ve relocated like the pots and pans, and another for miscellaneous stuff.
You can even make more piles based on the number of kitchen items you have. Once you have separated the items, we can now start packing.
Step 2: Gathering the Necessary Packing Materials

When you’re packing the kitchen, you’ll need a lot of packing materials, unlike packing the other rooms in your house. Since kitchen items aren’t disproportionate and tend to break easily, you’ll need many cushioning materials to protect your things during transportation.
If you have the original boxes for your kitchen appliances and big cooking utensils, check the size and sturdiness of the boxes you’ll need to pack them. Next, you’ll need lots of bubble wrap, packing paper, packing tape, and packing peanuts to help you quickly and securely pack all the kitchen things. Once you’re ready with the packing materials, we can now proceed to the actual packing process
Step 3: Packing Pots and Pans
Pots and pans are one of the most commonly used kitchen items. Therefore, they tend to break easily during transport if not packed correctly. If you do not want to end up with broken pots and pans, follow these guidelines:
- First, wash and dry all pots and pans that you plan to move with you so that they are clean when you unpack them in your new home.
- Use newspaper or bubble wrap to protect their surfaces from scratches or dents while in the box. Use double layer packing paper on all sides and plastic wrap each pot individually before placing them into moving boxes.
- Place heavy items into small boxes or medium boxes to prevent them from breaking through the box when placed under heavyweight and seal them with packing tape. Now you can place smaller pots and pans on the top.
If you have a lot of pots and pans or large utensils, these can be placed in their own box. If they are not too large, you can separate them by placing each item into its plastic bag before putting it in the box. Make sure the heaviest items are on the bottom and lighter ones on top. Fill up any empty space with crumpled packing paper or towels for cushioning.
Step 4: Packing Kitchen Appliances
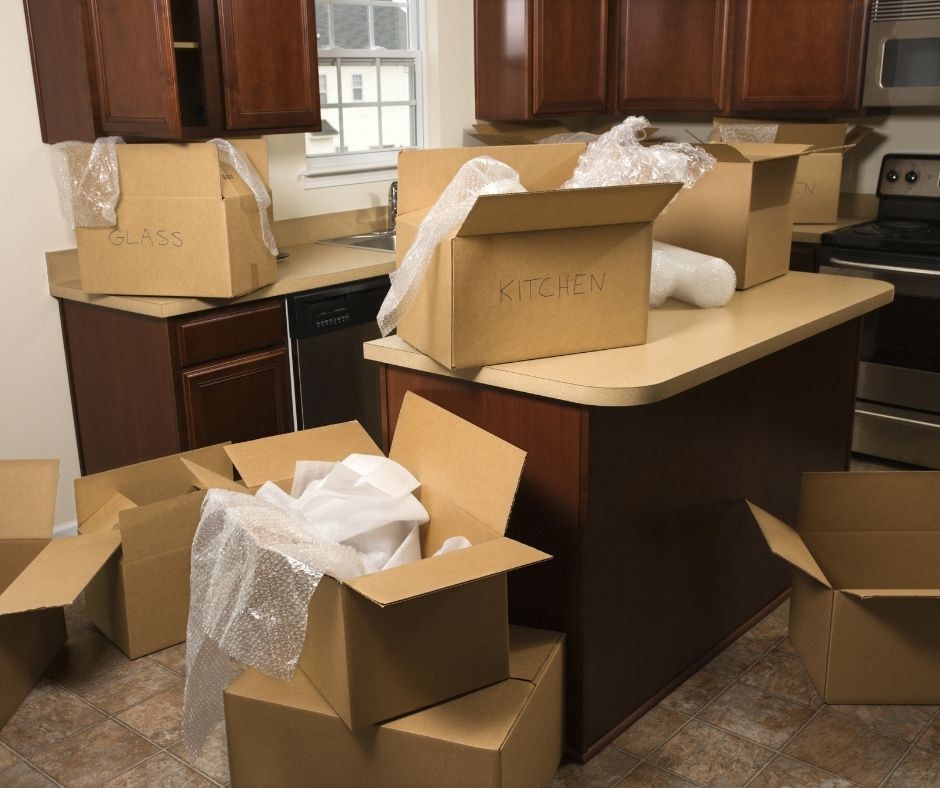
When you pack kitchen appliances like microwave, coffee maker, toaster, and other similar stuff, use original boxes, especially for large appliances. They are usually the sturdiest heavy duty boxes and they will protect your items from damage during the move. If you don’t have them, use large boxes similar in size to wrap them properly using bubble wrap or packing paper.
If some kitchen appliances have glass parts and cannot be packed in a single box, use heavy duty boxes instead. Make sure to wrap each piece with bubble wrap before placing it inside the box. If a glass part is too large for any box, wrap it in several layers of bubble wrap and put it in a sturdy moving box filled with cushioning materials such as newspaper or foam peanuts.
Step 5: Packing Fragile Items
Make sure that you have a large enough box to fit all of your dishes. You don’t want them crammed in there so tight that they are touching each other. Make sure you wrap them with enough packing paper so that you can’t see the dishes anymore.
You may want to consider getting multiple boxes of different sizes, wrapping each dish individually, and using speciality dividers to keep the items from touching each other.
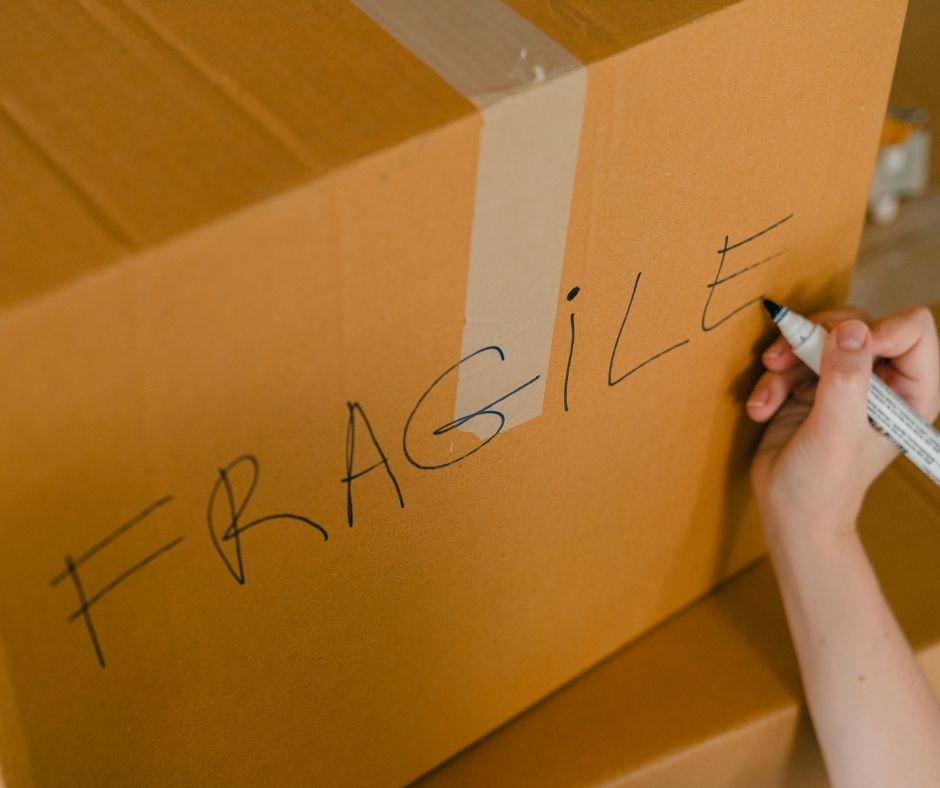
Wrap your glasses and fragile items in packing paper and place them side by side in the box. Fill any empty space with more packing paper, towels and other similar cushioning materials to keep them from moving around too much. And finally, before it’s loaded into the moving truck, label these boxes as ‘Fragile’ on all sides.
If you’re unsure about the best way to pack your fragile items, you can get the help of the moving company for packing and unpacking.
Step 6: Packing Containers & Other Miscellaneous Stuff
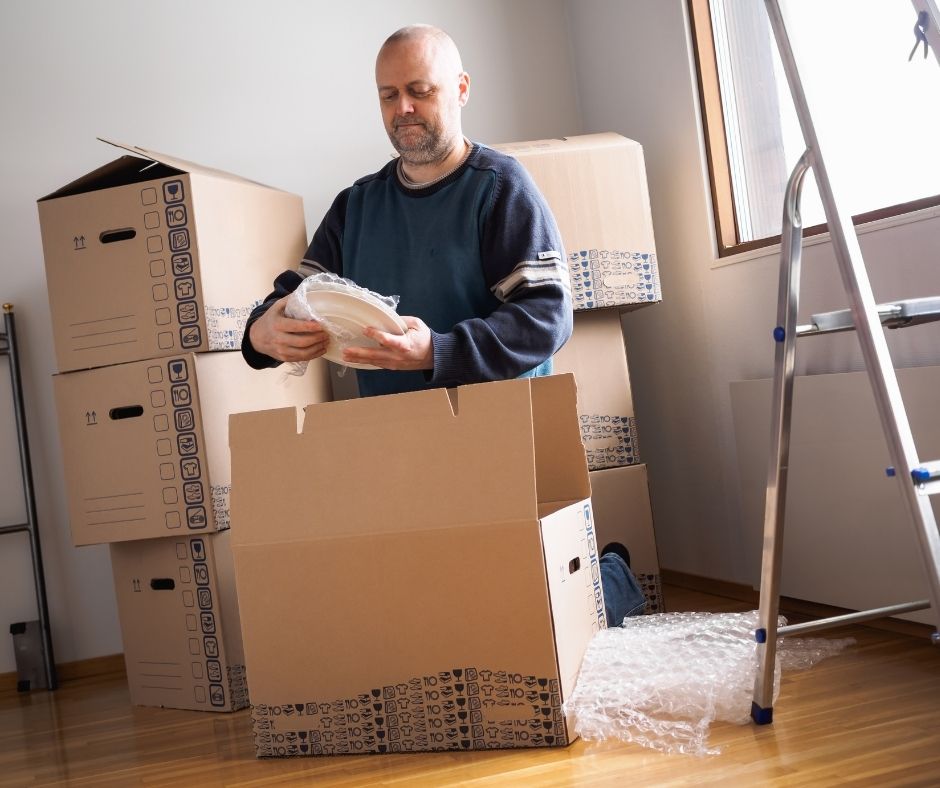
After you’ve packed the kitchen appliances, pans, pots and fragile items, you’ll be left with the food storage containers, spoons, plates and other serving utensils that aren’t easily breakable.
While you don’t necessarily need too many packing supplies to pack these items, it’s best to wrap them individually and place them into large boxes in the nesting method. There are chances of silverware and other metallic kitchen utensils getting bent out of shape if heavier items are on top of it.
So make sure not to crowd the boxes and leave enough space between each item and fill them with the wrap, packing paper or cloth. Also, keep in mind to pack your food items and pantry items into a separate box away from these utensils.
Want to securely pack and move your kitchen items to your new house? Contact our house removalists today to get guidance.


